Before getting that far, heat up your dryer, turn it off, put the stocking and a towel (just for more agitation) inside. Then put the dryer on fluff and whatever the setting is for 30 minutes (no heat) and let it tumble. Take your bundle out, and free it of it's stocking and wrap. It will still be wet and the back where the paper is, will be wrinkled - that's how you know it's felted - you can continue to tumble if you feel it's not felted enough. Then you pour boiling water (which you have of course thought to boil beforehand - not like me) and pour it over the whole deal. Do so until the water runs clear. Wala! Let it dry.
Here are three approx. 4" x 4 1/2" minis. I love the look and feel of them.
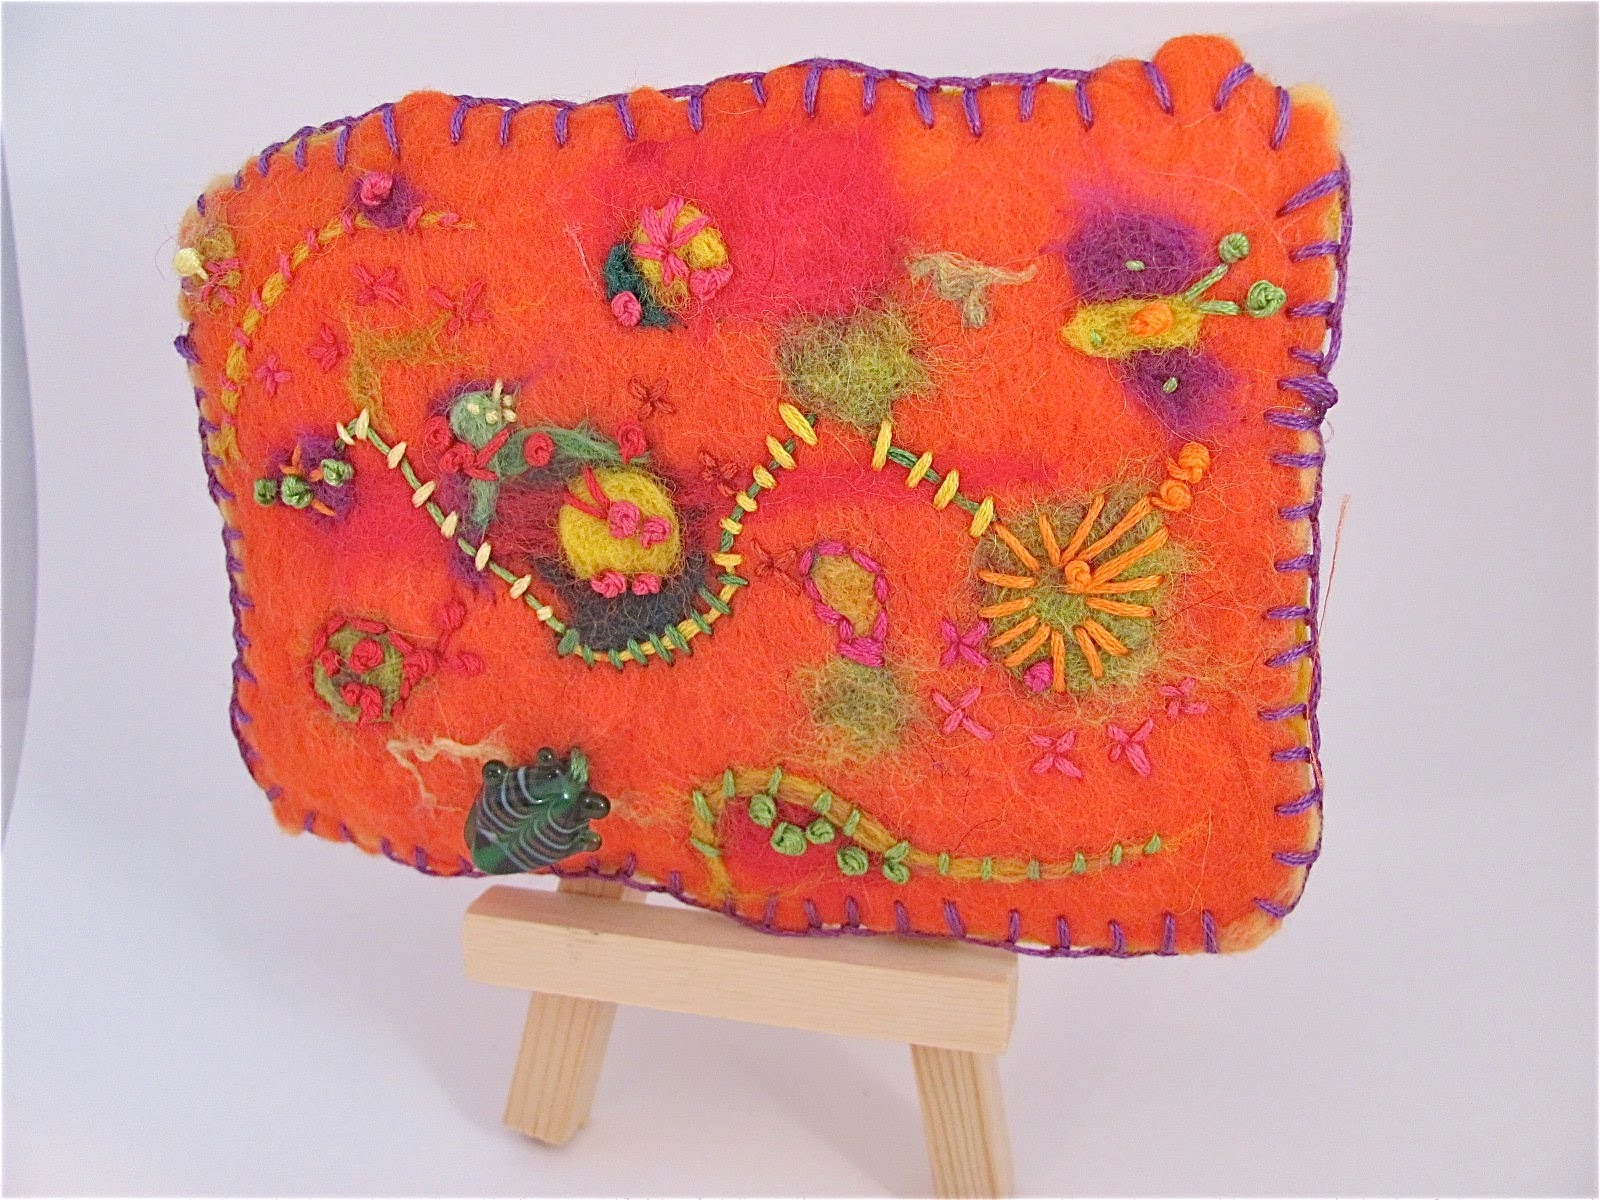
 |
| As you can see, it fits nicely on a mini easel. |
 |
| My inspiration picture taken last year in Vermont |
 |
| A new stitch I learned to make a loop for hanging |
I started with a background of green and yellow petals with a blob of yellow in the middle. When it dried, I needlefelted more yellow and green and a few strands of silk fiber. Then I added french knots, which I recently learned how to make and can't make enough of now, for the center. I cut some batting used for quilting and a commercial piece of felt for the back. I stitched the loop on the back felt and sewed my sandwich together with another new stitich - can't remember the name.
Here are a few more I made:
 |
| Very impressionistic - can you find a butterfly/owl or birdlike creature? |
AND
 |
| Somewhat buggy with tracks and a green glass bug button. |

 |
| I got smart, two loops, hang it both ways! |
I could also just wet felt the piece myself without using the ArtFelt. It is such a small, thin piece that it would take me no time to make. However, you can tack everything pretty quickly, stick it in the dryer and go make another one. So, it does save time. I've read on the website that you can make big projects, 2D and 3D. Their paper/fabric is not cheap - but you can always Google it and see what you find!
THANKS FOR READING! Oh and I got a shoe organizer and put my roving in it - saw this on a website - it's nice to be a chaotic artist - but it does get to yo sometimes!

Later!!!!!!
The shoe organiser is a great idea.I'm off to get one today!!!gee I'm with you- organising is a constant battle.You need to darg everything out when making, and putting it back seems pointless when you need it all the next day. I just shut the studio door these days!!
ReplyDeleteHi Judy! You're right about dragging things out and then why put them back? I want everything within my reach but then I can't think straight when there are too many paints, beads, roving, etc. around me. Send me a pix if you get your organizer!
ReplyDeleteThanks for stopping by my blog and leaving a comment. I do thread sketching and machine embroidery on felt all the time. I use a variety of threads depending on the project. The thing that you need to be careful of is that you keep your handmade felt thin. Otherwise, it will stick in the machine. But if you're set up for free motion machine embroidery, you can do quite a lot of thickness under the foot before it sticks. Just takes a bit of practice.
ReplyDeleteThese are so wonderful and lovely colours....also love the shoe organiser idea.
ReplyDelete